It was the early 2000s in Les Deux Alpes. I'd read about carving skis and was excited to try a pair for the first time. Off I went down the slope- a nice gentle blue for the first run of the day. I got to the bottom and Kirsty, my then partner, asked me what I thought:
"Doesn't seem all that different, don't see what all the fuss is about". Mentally I consigned carving skis to the general category of marketing gimmick.
However, having just enough sense to realise that I might have been missing something, I booked in with Easiski (Les Deux Alpes ski teaching legend). She watched me for a first run and summed up the problem succinctly: "Particularly nice demonstration of Old School skiing!" The problem was, I had the kit, but I had no idea how to use it. Three sets of lessons later and I was a total convert, having fallen in love with the feeling of high speed turning, completely secure, as if on rails.
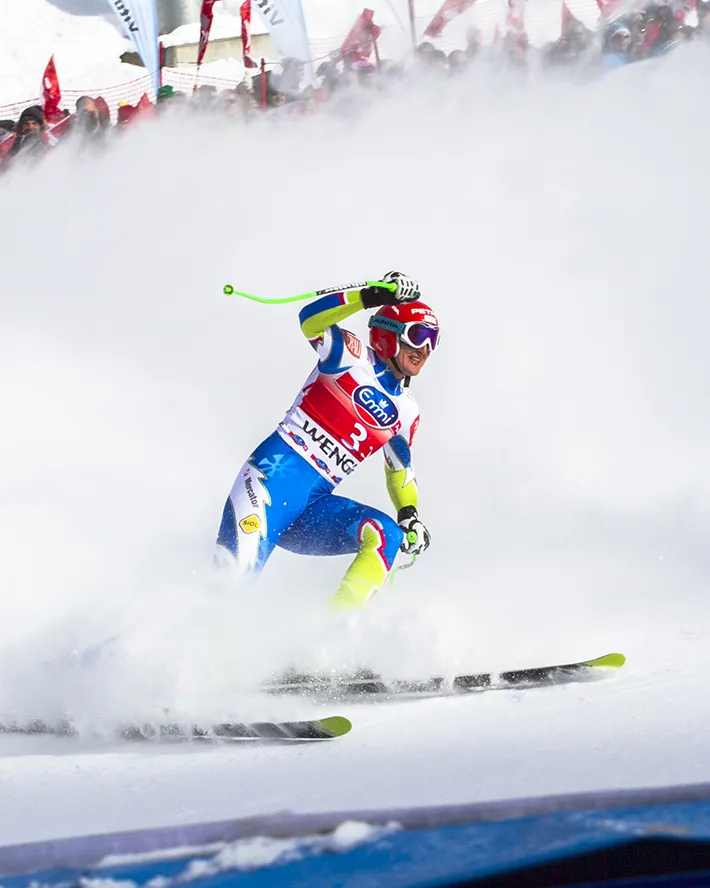
The thing is, carving skis are the real deal, but you do need to know how to get the best out of them. If you're learning carving, there's no substitute for having a ski instructor to coach you. However, you can learn a lot from watching and reading, and the video below gives a nice summary of a series of useful drills you can use to build up your carving performance. It's a video filmed at the World Congress of Snowsports Instructors Interski meet in Argentina 2015. This is a meeting where the main national snowsports instructional bodies send representative teams, with the idea of comparing and swapping teaching philosophies and techniques. This video was filmed by one of the USA delegates, who attended a workshop run by the Austrian team where they presented their carving drills. Watch the video- the coach runs through the drills very quickly up to about minute 5. After that there are some comments from the USA team members, which you can skip if you just want to focus on the drills. Once you've watched it, read on for a few observations.
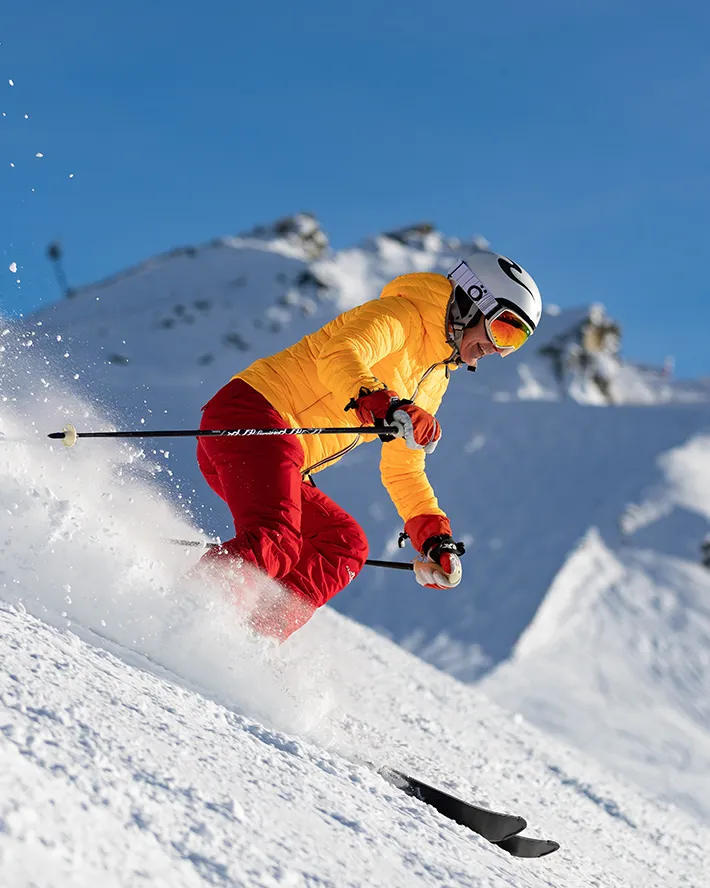
The key thing to keep in mind is that the drills are done on slopes of the appropriate steepness. He points out that the initial drills are done on gentle slopes. This is really important when you're developing your carving skills, for a few reasons. Firstly, carving is a high speed mode of skiing- carving skis loose very little energy in friction, and you will feel like you're moving very fast even carving on a very gentle slope. Secondly, some skills progression is required to carve on steeper slopes, as the higher forces mean that it's easier for the skis to break into a skidded turn (basically you need higher edge angles, the topic of another blog yet to be written!). So definitely start on a green or gentle blue slope- you can gradually move on to steeper slopes once you've go the basics. The second observation to highlight is that many of the drills (particularly the earlier ones involving movement at the knees only) are simply designed to give the feeling of carving, so that the learner can then recognise that feeling as a sign of "success" when carrying out the more advanced drills. The final few drills correspond much more to how you'd actually ski a carved turn "for real". Finally, once you've got the basic feeling of carving, my favourite drill of all of the ones shown is the last one, which is often called "statue of liberty". In this drill the hand on the outside of the turning arc is used to push the hips towards the centre of the turn, while the inside hand is held up and forwards, helping to get the upper body into a good position. You can see it being employed really effectively here by the kids from the Steamboat Springs under 10 ski race team. Notice how it helps the kids really project their hips into the centre of the turn, which gets the skis on their edge to enable them to carve.
Finally, it's probably worth saying a few words on what movements are unhelpful in carving. You might have read my previous blogs on skiing steeps and moguls, which talk a lot about twisting/rotational movements. These will destroy your carving, as whenever you're twisting your feet, you're breaking the ski away from a clean carved edge. The movements to cultivate for carving are all about moving the hips and upper body side to side (laterally) over the skis, and not about twisting the feet under the body. This was the basic problem that I had on my first run on carving skis that I describe above- my Old School technique involved a strong upwards movement, accompanied by twisting my feet to rotate the skis into the fall-line at the start of every turn. There was no way I was ever going to carve properly with that technique.
I hope these few videos and comments on ski carving technique are helpful. Of course, if you need any equipment to protect you from the odd high speed carving fail, do check out our main website here: Gravity Protection.
That's brilliant - Never been taught how to carve and that now shows me (part) of what I've been doing wrong - Can't wait to try these exercises out in Feb 2017 half term! (Wearing my new mitts from you guys at Gravity. Watch this space...)
Ski racing has a rich history dating back to the early 20th century, when the sport first began to gain popularity in Europe and North America. Over the years, many legendary ski racers have emerged, pushing the boundaries of what was thought to be possible and leaving a lasting impact on the sport. In this blog post, we will take a look at some of the pioneers who changed the game and helped shape the sport of ski racing into what it is today.
When it comes to ski helmets, fit and sizing are crucial factors. A ski helmet that doesn't fit properly can be uncomfortable, and it may not provide the protection you need in the event of a fall or impact. Read on to find out more about how to ensure a helmet is the perfect fit.
Ski helmets have come a long way in recent years, with a range of new technologies and innovations designed to improve safety and comfort on the slopes. In this blog post, we'll take a closer look at some of the latest developments in ski helmet technology and how they can benefit skiers and snowboarders.
That's brilliant - Never been taught how to carve and that now shows me (part) of what I've been doing wrong - Can't wait to try these exercises out in Feb 2017 half term! (Wearing my new mitts from you guys at Gravity. Watch this space...)